Move Over, Game Boy, Game Dad is Home
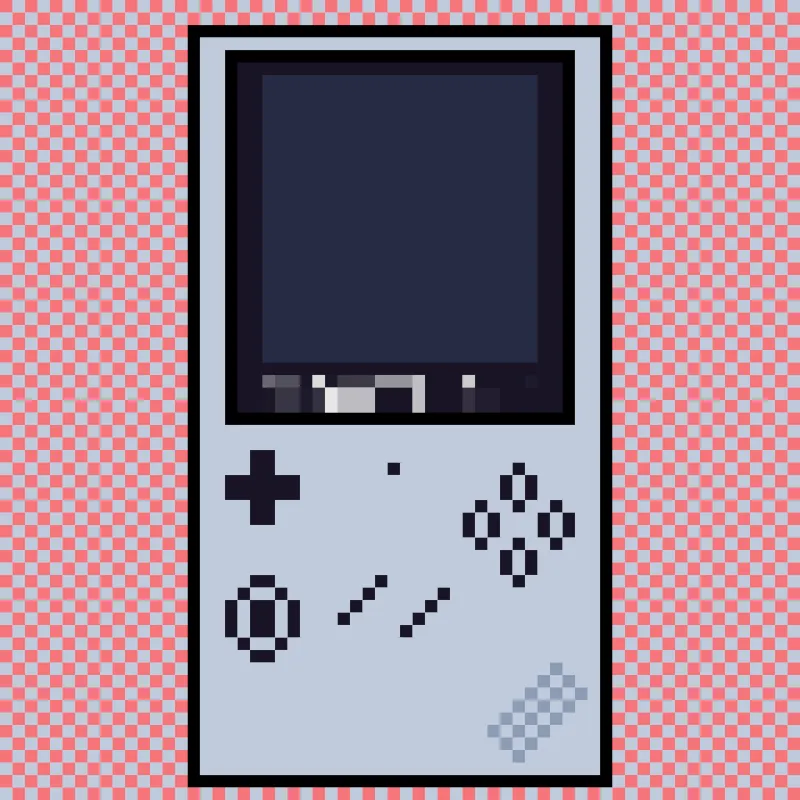
Did Nintendo release a new device? No, @ifixcoinops has mercifully given us better language to discuss the hardware coming out of the flourishing retro emulator market. A Game Dad is:
A cheap little handheld games console that plays every game you grew up with and all the ones you never got the chance to play. It has a proper D-pad and buttons and a good bright screen, and sometimes it has one or two analog joysticks as well.
It fits in your pocket and its whole job is playing videogames, that's it. Because its whole job is videogames, it'll never pester you about updates or interrupt you to give you another thing to look at. It costs about $60, or a little bit less if you're patient, or some more if you want a fancier one.
The focus of this piece will be setting up an Anbernic RG351V with AmberELEC, a firmware distribution that focuses on the Anbernic RG351 & RG552 models. It will go over the software you need and where to get it, installing said software, and configuring a few quality of life features to get you going. The firmware itself is more feature-rich than can be covered in a single post, but this should start as a launch point, and if you ever bork your configuration during exploration, you can always make your way back to this post to start anew.
This work was done on a computer running EndeavourOS, so the guide is written with the assumption that one is using some flavor of Linux, but while searching, I saw many guides for Windows & Mac that can assist with any specifics mentioned here.
Prerequisites
To get through this guide you will want the following.
Hardware
- A Game Dad (The guidance in this post should be applicable to all Anberbnic RG351 models and the Anbernic RG552)
Two name brand micro SD Cards (San Disk, Samsung, Lexar)
- You can do this without having a brand name micro SD card but this advice is more to save you the pain of dealing with the failure rates of less reputable cards.
- 16 GB for the OS (you can get away with 4GB because the operating system is not that large but 16GB gives breathing room for updates).
- Up to 256 GB for your library + manuals and scraped images (You really could probably get away with something like 32 GB as ROMs aren't that large. The only reason I can see using a card that large is if you intend to keep your entire library on the card. I imagine that if I run out of room, I will just rotate what is on the device from my desktop).
A USB-A to USB-C charging cable
- A MicroSD card reader
- A backup USB stick or microSD card (optional)
Software
- AmberElec prerelease
- The prerelease version resolves a handful of issues I had during my initial installation. I updated to the prerelease after doing some of the recommended fixes. Those fixes worked, but as I ran into other issues, I discovered more things the prerelease version handled. I include the troubleshooting solutions I went through before installing the prerelease version later in the post.
- If you are using the RG351V, download this image. If you are using another device, the previously linked releases page has the downloads for the other supported devices.
- balenaEtcher
Documentation
- AmberELEC's documentation for surfacing advanced topics, double checking, or simply finding information that is not covered in this guide.
- Etcher documentation, if you have never flashed something using this software.
Sharpening the Tools
Let's lay out our workstation at the start so that we don't have to scramble when we get to the later steps. To begin, charge up your Game Dad because things can go awry with low power during the flashing process.
The charging situation
The device has two USB-C ports but can only charge through one. On the RG351V, this port is labeled DC/OTG. The most straightforward way to have a consistent charging experience is to use that port and to only charge it with a USB-A to USB-C cable. A heroic Reddit user did a breakdown about what is going on with the circuit board. I have no idea if this wiring diagram applies to all Anbernic devices, but I can confirm that using a USB-C to C on my Game Dad did not work, so it's not the same scenario, but the advice holds.
Backup the original firmware
The first thing you want to do is create a backup of the firmware that was sent with your device. You can use something like dd or Clonezilla to accomplish this. If you do not want to go through a backup, you can opt to use a separate microSD card for AmberELEC and keep the original card somewhere safe.
Accessories
Not necessary, but if you have access to a 3D printer and don't find the Game Boy format comfortable, there are controller grips available. Take a break, kick that print off, and come back to flash the card.
Flashing the OS
With your SD card in your computer, open balenaEtcher. Select the prerelease image that was downloaded earlier. Select your microSD card as the drive. Press flash. Once this has been flashed, you can put the OS microSD card into the TF1 slot and boot your device. Once you have booted into the device, you can move around the menus and screens to make sure everything appears functional, but there is much to be desired until you have a library of games on the device.
Setting Up the Library Card
The method for getting the library card properly formatted is to first have the OS flashed. Ensure that your second card is formatted as exFAT or ext4 with nothing on it. With the device powered off and the OS card in TF1, place the empty card in the TF2 slot and then boot the system. During this boot, AmberELEC will create the proper file system. If you investigate the structure, it becomes fairly clear where files should go: .gba files into the gba/ directory, .gb files into thgb/ directory, and so on.
Troubleshooting
When setting up my Game Dad, I ran into a handful of issues; however, the version I installed was their last release version, and many of my issues were resolved by pulling from the prerelease channel. I did solve some issues, like screen flickering, before pulling down the prerelease image with the following steps:
Open the original Anbernic microSD card on your machine and copy the rk3326-anbernic-linux.dtb file off the original firmware card (this file is found in the root of theEMUELEC partition) to your computer. Then open the current operating system SD card and copy therk3326-anbernic-linux.dtb onto the root of the operating system SD card. You will need to rename the file from rk3326-anbernic-linux.dtb to rk3326-rg351v-linux.dtb. If you are using another Anbernic model, you may need to use the name of that device, e.g., RG351H.
I remain unsure if the fix I performed remained after the update or was overwritten. I would only apply these steps if you are running into screen flickering or other mysterious issues even with the prerelease image.
Settings
Something that may confuse someone coming to this device fresh is that there are separate areas of the menu for different settings. There are the AmberELEC settings you can find through pressing the start button. Then there are the settings you find through the Tools section. Beyond the AmberELEC settings, primary settings I have needed to access in the Tools such as RetroArch; however, the tools screen is where you will also find the File Manager, cloud backups, time settings, and more.
Connect to WiFi
It's not strictly necessary but connecting to WiFi does grant some quality of life improvements, such as downloading themes, automatic updates, and scraping game databases for artwork and game manuals.
Styling Your System
To download themes navigate through to the themes downloads by pressing Start -> Updates & Downloads -> Themes. From there you can go through the available themes and find something appropriate to your tastes.
Filling in the Metadata
If you are familiar with sorting music, you might know this as "scrobbling," but for ROM collections, the term of art is "scraping." There are a few options for a database to pull from. I went with Screenscaper. Setting up an account was free. I think they're definitely worth supporting, and they'll go into my rotation of projects I kick some dollars to now that I know they exist. If you pay for access to the API, you get a ton of requests. For the purposes of my tests, their free tier was more than enough. Having the art associated with the game is a stellar visual improvement, but the killer feature of this is scraping for the manual. I culled the library of dubious ROMs to something manageable and tested if the scraper worked.
After a short while, the scraping finished, and I could select the game options from the AmberELEC menu and hop into the manual (to access options on a given game, including the manual, press the x button on the game dad). The manuals all appeared to be scans of the pamphlet that came with the original game. It would be difficult to overstate what an incredible boon to preserving video game history this ecosystem of hackable hardware and free software is doing.
Adding to Your Library
The most straightforward way to add to your library is through the microSD card in the TF2 slot. When you plug your microSD card into your computer, AmberELEC should have the files formatted by system type. People have found a way to sync their game libraries with Syncthing.
What Can this thing Play?
I have read that the RGA351V thing is capable of playing up to PlayStation 1 era games; however, there is still a pretty big scene of people making new games for the Game Boy Advance. The store I ordered from on AliExpress also sent a card with a bunch of ROMs of dubious legal status on a second 64GB card, but this was a blessing as it did allow for me to test out the PS1 claims.
Among the collection that arrived with the device was Spider-Man 2: Enter Electro, a childhood favorite of mine. I booted that up just to see if it would even load. I was able to get through the main menu and opening cutscene and begin my web-swinging adventure. This was proof enough for me to believe the capability claims. AmberELEC has a page that rates their system support for various systems. I didn't test beyond this single game as I needed to continue playing System Administrator so that I may free myself to one day use the device.
Unresolved Issues
Hot Keys
Something I struggled with when I got to playing was the hotkeys. These are keys that allow you to access emulator functions such as saving & loading state, speeding up the gameplay, and exiting to AmberELEC. The hotkey settings are within the RetroArch menu and not the AmberELEC menu. While writing this, I was never able to move the default hotkey activation from select to the f key. I assume this was user error. The main downside to this is that if the select button does something while you are doing the key combo, you will invoke both the hotkey and whatever the current game has that mapped to. My temporary workaround has been to pause the game I am playing and then invoke the save or load state keys. Exiting to the AmberELEC menu is pressing select+start two times in a row, so that hotkey hasn't really interrupted the game.
Screenshots
For the purposes of this tutorial, I wanted to take screen grabs of the stock OS menus so that they could be included for guidance. The system has a screenshots folder, so I assumed this would be straightforward, but the hotkeys for taking a screenshot do not work from AmberELEC's main screen (which appears to be the emulation station front-end). More research is needed he
Coda
The build quality on this device is excellent. I do have a complaint about the charging situation. That I must think about the USB-C port I plug into and what charger I am using is a small annoyance. The screen is solid. The out-of-the-box firmware was usable, but the open-source alternatives were better. I do wish that I could play cartridges on this machine, but I wasn't willing to more than double my budget to get something like the Analogue Pocket, as I do have a handheld system that can play my meager handheld library already.
AmberELEC's documentation is top-notch. So much so that me writing this felt almost unnecessary, but the goal of this guide is to help overcome any barriers you might have to wanting to swap the firmware yourself and to walk through the issues I encountered. While anyone is capable of doing this, many people will be turned off by having to don the system administrator hat, read through documentation, GitHub issues, and forum posts. Hopefully, this post alleviates that burden. I cannot possibly cover every issue you may run into. If you start running into anything weird, I recommend reading through the AmberELEC FAQ.
I realize that this device is something of a miracle and that there are so many freely developed software components stacked atop one another is truly a gift, but there were many moments when I was exploring the software and writing this guide that I was almost overwhelmed by the jank. They do not feel janky in a way that is beyond any other Linux experience, but Linux has never given me trouble with taking screenshots of the operating system or rebinding hotkeys. That this remains an unsolved problem despite my searches feels like it could be a skills issue, yes, but it seems to fall more into the oversight category. To the credit of the maintainers of the software that makes this all possible, until very recently no game has worked on my Linux desktop as seamlessly as launching a game on the Anbernic has.
I admit that I do not play many video games. Maybe once or twice a year I will play through a game, but the Game Dad may change that. It has already been a real boon to use time that might have been sucked away by the scroll into something where I can at least experience art, especially when I don't feel like any of the other hobbies that might fit into that time, like reading, sketching, or listening to anything. Now that I have this, I am also on the hunt for contemporary GBA games. Here's to Game Dads.
Postscript: Since purchasing this device, and thus the start of this post, I have spent around 25 hours and successfully gotten through one game.
If you liked this piece, consider supporting the work at Screaming at the Silicon. The main in-progress series is We Have the Torment Nexus at Home, where I go through setting up and using local language models with free software, but there is other computer and programming work entirely unrelated to tech de jour already available and in the pipeline.
Bibliography
AmberELEC. “FAQ.” Accessed June 21, 2026. https://amberelec.org/faq.
AmberELEC. “Getting to Know AmberELEC.” Accessed June 19, 2026. https://amberelec.org/guides/getting-to-know-amberelec.html.
AmberELEC. “Supported Systems.” Accessed June 19, 2026. https://amberelec.org/systems/.
EmulationStation. “EmulationStation.” Accessed July 3, 2026. https://emulationstation.org/.
“Game Dad Club.” Accessed June 19, 2026. https://www.gamedad.club.
GitHub. “Issue: RG351v White Screen · Issue #662 · Christianhaitian/Arkos.” Accessed June 19, 2026. https://github.com/christianhaitian/arkos/issues/662.
GitHub. “Releases · AmberELEC/AmberELEC-Prerelease.” Accessed June 23, 2026. https://github.com/AmberELEC/AmberELEC-prerelease/releases.
Itch.Io. “Andrew Roach.” Accessed June 21, 2026. https://ajroach42.itch.io/.
Reddit. “An explanation of the USB-C charging issues on the Anbernic RG35XX Plus/H.” Accessed June 21, 2026. https://www.reddit.com/r/ANBERNIC/comments/1f1iun2/an_explanation_of_the_usb_c_charging_issues_on/.
screenscraper.fr. “ScreenScraper.” ScreenScraper : Base de données et téléchargement médias pour front-end gaming multi-systèmes. Accessed June 21, 2026. https://www.screenscraper.fr.
Wirehead.Be. “Wirehead 🇧🇪 - Anbernic RG35XX-H USB-C Charging Mod.” October 21, 2024. https://www.wirehead.be/2024/10/21/anbernic-rg35xx-h-charge-mod/.
License
Move Over, Game Boy, Game Dad is Home © 2026 by Glass Hound Computing, LLC is licensed under CC BY-NC-SA 4.0. To view a copy of this license, visit https://creativecommons.org/licenses/by-nc-sa/4.0/
The accompanying image Game Dad © 2026 by Glass Hound Computing, LLC is licensed under CC BY-SA 4.0. To view a copy of this license, visit https://creativecommons.org/licenses/by-nc-sa/4.0/